Learn how to create your own mailing labels using Microsoft Word’s built-in tools.
Creating your Mailing Labels:
- 1) Start Microsoft Word.
- 2) Click the New Document button.
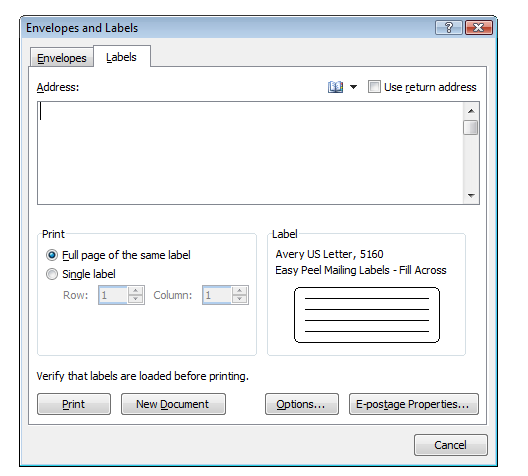
- 3) From the Tools menu, select Letters and Mailings, then select Envelopes and Labels.
- 4) Select the Labels tab, click Options, select the type of labels you want to create and then click OK.
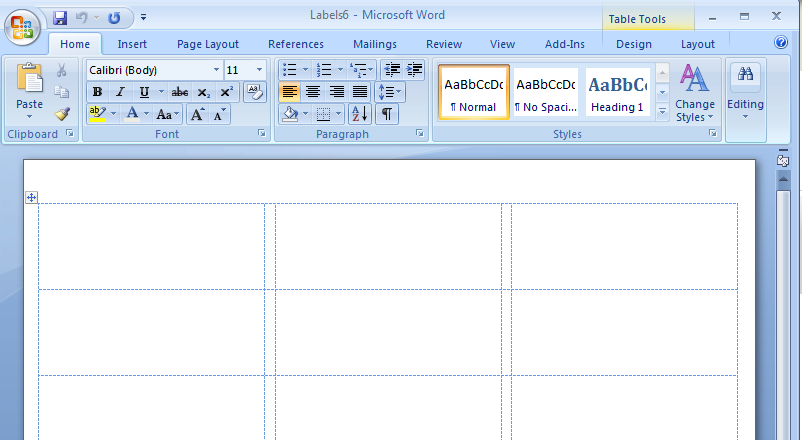
- 5) Click New Document.


Type and format the content of your labels:
- 1) Turn on table gridlines (borders) so that you can see the outline of your labels: from the Table menu, choose Show Gridlines.
- 2) If you’re creating a page of labels that will all look the same, type and format one label, then use copy and paste to create the rest of the labels (see step 5 for details on copy and paste).

Insert photos into your labels:
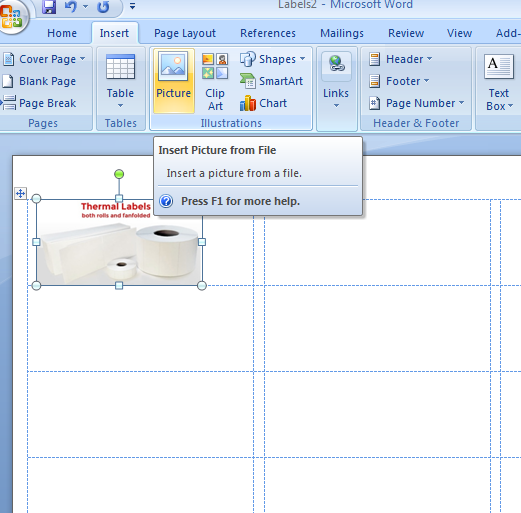
- - Scan your photos.
- OR
- - Use photos that you have saved on your computer's hard drive.

Resize or move each image as needed so that it fits in the label:
If you want to duplicate information (text and/or photos) in every label, copy and paste the information into each label.
To do this you need to:
- 1) Select the text and/or photos you want to duplicate.
- 2) From the Edit menu, select Copy
- 3) Place your cursor in a label where you want to place the information.
- 4) From the Edit menu, select Paste.
Save your Mailing labels:
- 1) From the File menu, select Save.
- 2) In the Save As window, locate and open the folder where you want to save the labels.
- 3) Type a name for your labels, then click Save.
If you want to preview your labels:
- - From the File menu, select Print Preview.
- OR
- - Click the Print Preview button.
When you are done previewing, click Close to close the preview window.
Click on File and press Print.

